Search This Blog

Sara's Chicken AKA Pollo al Horno

I learned how to cook by watching my Mami. For as long as I can remember, I was always with her in the kitchen, standing on a stool or sitting on the counter, watching her every move. We would often pretend to be hosting a cooking show and would talk through the steps of the meal we were creating to our imaginary audience. We were pretty awesome, my Mami and me.

When I could finally reach the stove without the help of a stool, I was in charge of making dinner for our family about once or twice a week. The first official meal I was taught how to make was pollo al horno or simply, baked chicken. Now my mother NEVER cooked from a recipe. It was always a little bit of this and a little bit of that, a taste test here and there, and of course an extra dash of something - just in case. I did know the usual ingredients in her baked chicken, so I started experimenting with my own adaptations, until 15+ years later I've landed on my own version of pollo al horno, which is now just called "Sara's Chicken."

This is my go-to chicken recipe and I make it at least twice a week. I'm sure every Puerto Rican family has a version of this chicken as well, but it has always been a big hit with my non-Puerto Rican family and friends. I've been asked for the recipe for a very long time, but it's just always been so hard to put together. I still make this chicken without measuring and it comes out a little bit different every time. There are some nights when I'm a little off and some nights when my husband licks the plate clean. But I guarantee it's always yummy.

So today is your lucky day. The last couple of times that I've made this chicken, I've been trying to take note of how much of everything I use so that I could share at least a base recipe with all of you. I would like to disclose that this is still just a guess. I leave it up to you to tweak this recipe to fit your palate and to also use your own culinary instincts. If you think it would be delicious with a little extra of something else - be my guest. Go wherever the wind leads you!

Now, onto the recipe!

Sara's Chicken AKA Pollo al Horno

Recipe Ingredients:
  • 2-3 pounds of chicken (any cut, or even a whole chicken)
  • 5-6 garlic cloves
  • 1/2 cup of extra virgin olive oil
  • 1/4 cup of water
  • 2 capfuls of white vinegar
  • 1 TBSP of homemade adobo (or store-bought Goya)
  • 1/2 TBSP of homemade sazon (or 1 packet of store-bought Goya)
  • 1 TSP of dried oregano
  • 1/2 TSP of ground pepper
  • 1 handful of fresh Italian parsley
  • pinch of salt (if needed after taste test, see below)
Recipe Directions:
 
Step 1: Preheat the oven. (*See Step 5 below for temperature and cooking times depending on cut of chicken). Combine all ingredients, minus the chicken, into a food processor and process until a smooth marinade is created.

TIME OUT: Up until I got my efficient little Ninja processor, I used the old school pilón (mortar and pestle). The one pictured below was handmade in Puerto Rico and was given to me by my grandmother. I still use it when I have more time on my hands and I want to feel authentic :)


 TIME IN!

Step 2: Once combined, taste the marinade before you put it on the chicken. Does it need a little extra pinch of salt? Pepper? Sazon? Parsley? Add it! Don't be afraid.

 
Step 3: Pour marinade over chicken. Today, I used chicken tenderloins since my goal was to use these to make quick salads and wraps throughout the week.
 
Step 4: Using tongs, toss until well coated. Or if you don't mind dirty hands, rub it with your bare (clean) hands. That's the way I used to do it until I got engaged and I didn't want my ring to get dirty. Mami is convinced that it tastes better when you massage the chicken with a little bit of love.

Step 5: Cover with aluminum foil and bake until done.


*Temperature and Approximate Cooking Time:
Chicken Tenderloins - 350 degrees for 25-30 minutes or until done
Chicken wings, drumsticks, bone in thighs - 375 degrees for 1 hour or until done
Whole chicken - 375 degrees for 1 1/2 hours -2 hours or until done
 
Step 6: Uncover, flip (optional), and bake an additional 5-10 minutes or until golden brown. Since I didn't want the chicken breast tenderloins to get dry, I only cooked uncovered for 5 minutes. Typically, I let it go uncovered for 7-10 minutes so it gets a nice little crust, especially if you're cooking chicken with skin. Yum.
 
Step 7: ENJOY! After the chicken is nice and brown, remove from the oven, let rest for a few minutes and plate your meal!

As I mentioned earlier, this is a standard seasoning base that I use all the time, with many different types of chicken parts. Here are a few examples:
 
 Adding peeled, cut potatoes right at the beginning of the baking process is ALWAYS a good idea. The potatoes soak up all of the flavors of the marinade and will be amazingly delicious. I do this often.
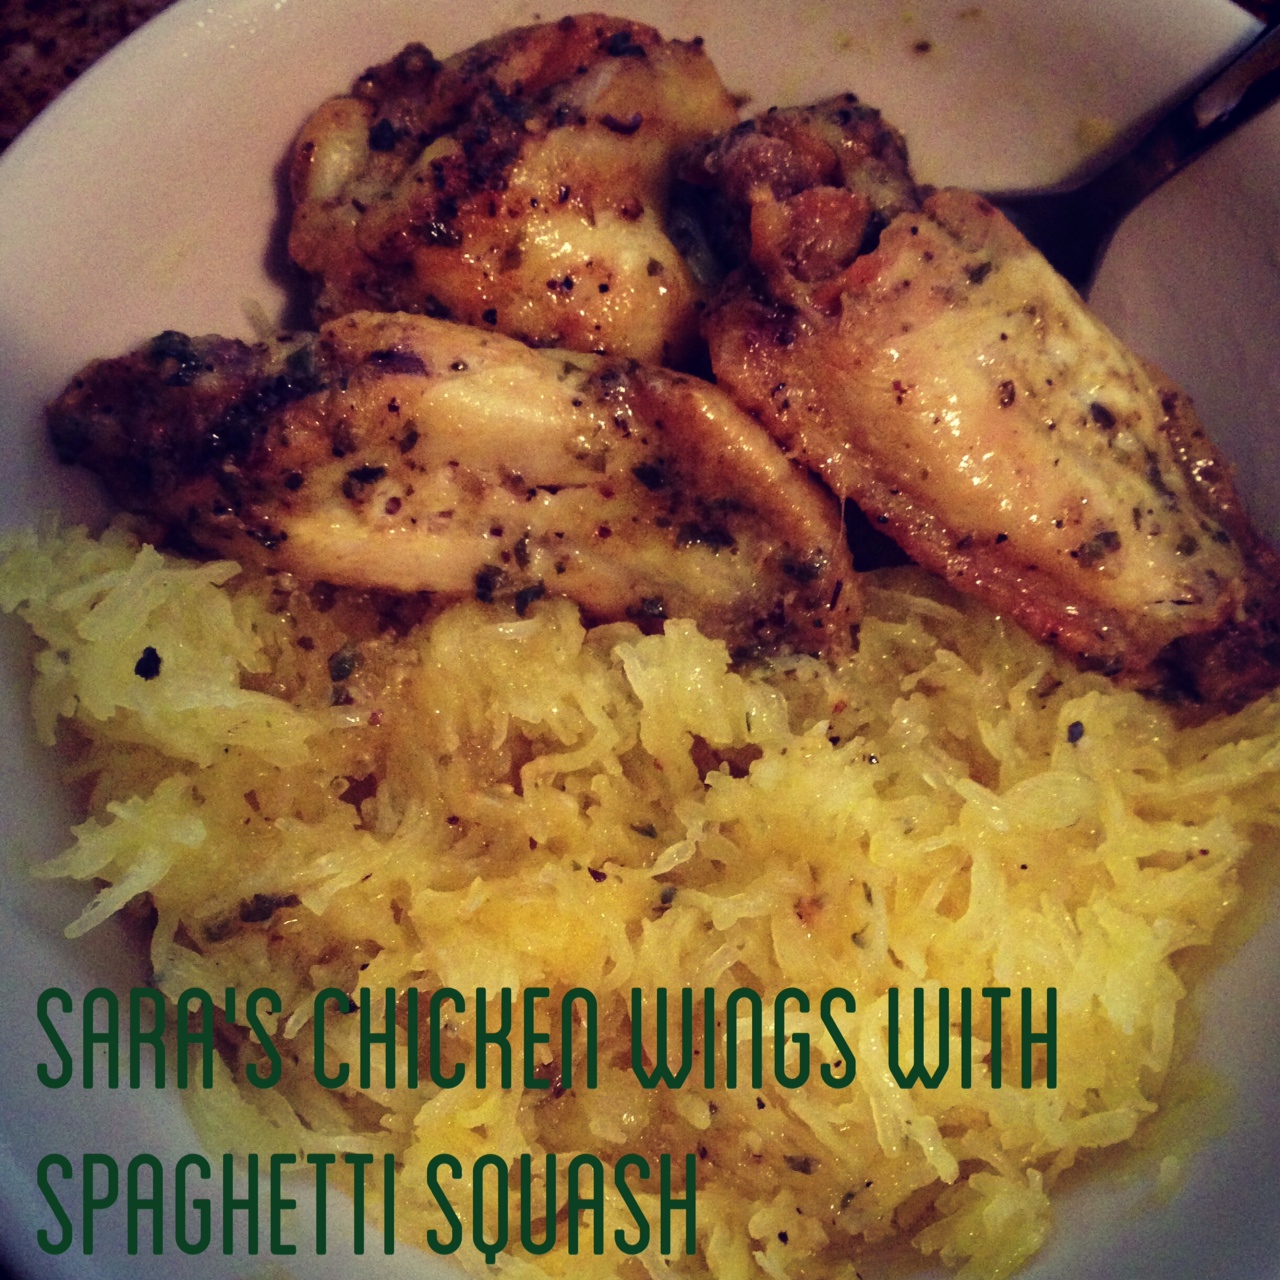
Chicken wings are also pretty popular around here. This particular night I paired it with some roasted spaghetti squash and drizzled some of the chicken sauce from the pan over the squash. SO. GOOD.
And of course, the whole chicken. If you're making a whole chicken, I would probably double the recipe of the marinade and bake the chicken breast side down. This allows the breast to bake in the marinade and get REALLY juicy. Oh and if you didn't notice, the picture above is a raw whole chicken. It looked a little bit more appetizing after being in the oven for almost 2 hours. :)

So there you have it. Please try this recipe and leave your thoughts in the comments below. Hope you love it as much as we do!

Oh and this seasoning blend goes well with pork too!

XOXO,
SMP

Pregnancy & Exercise: Why I want to be a Strong Mama!

I believe I've mentioned this before, but I really, REALLY, want to be one of those pregnant ladies that still looks incredibly adorable in a workout outfit at the gym. I'm already 18 weeks along and I have not been as active as I thought I would be. In fact, I haven't been consistent at all. I could go into all of the reasons why I haven't been exercising as much, but I'm not going to do it. I'm just going to make a resolve to change today.

As I prepare for the most incredible journey of my life, I've been reading tons of books, articles, and blogs on the labor and delivery process. I am educating myself on my options and my goal is to be as strong as I can to put myself and our future child in the best situation as possible. I don't know what to expect, or how I will personally handle it, but what I do know is that millions of women have labored. Our bodies have been designed to go through this process. Our bodies know what to do, so I have to be confident in my innate ability to bring my little human safely into this world.

I wish I could remember where I read this, but someone compared labor and delivery to an athletic event and the 9 months of pregnancy to the training period. Now if I was signed up to run a marathon in October 2013 instead of welcoming our first child, I would not expect to be successful if I didn't prepare and train my body for that type of endurance event. I would have a training regimen and would definitely have to follow it! So I'm choosing to train my body so that I can give us all a good run for our money on that special day in October when "we" become a "family of three." 

Why it's important to exercise while pregnant:*

Women who exercise during pregnancy: 
      Have reduced weight gain and fat deposition during pregnancy 
      Have fewer pregnancy discomforts 
      Report a more rapid physical and emotional recovery from delivery 
      Tend to have easier, shorter and less complicated labors 
      Have less need for pain relief during labor 
      Have more stamina during labor 
      Increase their aerobic capacity 
      Decrease their susceptibility to illness 
      Increase their energy level
 
Babies of exercising moms: 
      Have significantly lower heart rates than babies of non-exercising moms 
      Are better able to cope with the stress of birth 
      Have a greater ability to adapt to life outside the uterus 
      Are more healthy at birth 
      Are leaner at birth and tend to stay lean as they grow 
      Sleep through the night sooner 
      Are better able to self-calm 
      Score higher on tests of general intelligence and oral language skills 
      Have decreased risks of cardiovascular and metabolic diseases later in life

*Excerpt from the Facts page of Crossfitmom.com

The plan:

3-4 times a week, I will do the beginner workout of the day (WOD) posted on the Crossfit Mom website. This website modifies the WOD that is posted on the main Crossfit website for pregnant women. It's an awesome resource. By doing these scaled Crossfit workouts, I know I will safely and quickly build up my strength.  Below was today's WOD. It seems simple, but I needed to take a little breather after round 2. Thrusters get your heart pumping!

In addition, 5-6 times a week, I will do a 30 minute prenatal yoga routine. I've been doing the following routine since the first trimester and I really love it. Not only is it free on YouTube, but I feel SO MUCH better after completing the session. You really don't realize how tight your muscles are until you fully stretch them out! Plus yoga is known to help with balance, circulation, and breathing techniques. All good stuff for the expectant mom!


I also plan to add in some walks at the nearby park's nature trail and some swimming now that it's getting warmer. I don't of course want to over do it, but I know I can definitely do more than what I'm doing now!

Today, I did successfully complete both the WOD and the yoga and I felt great. I had more focus during my working hours and just felt happy that I did something good for both me and baby. I do have to admit that my legs are already sore from all of the squats in the WOD and the yoga - but squats are such an important strength training exercise, so I'm going to keep doing them!

Any suggestions, comments, or thoughts from the experienced moms out there?

Pregnant & Paleo?


Before we were blessed with the news of our pregnancy, I already had all of these visions on how I was going to eat, exercise, and be generally awesome when the time finally came to grow a tiny human. Then, I got pregnant. 

Since going paleo last summer, I knew that I wanted to continue to eat real, whole foods for the benefit of my growing child.  All of the veggies and high quality meats would provide all of the essential nutrients, and I probably wouldn't even need to take a prenatal vitamin! (I know now, this is crazy talk.)

To my surprise, I quickly experienced food aversions to almost EVERYTHING I was eating on a regular basis. Eggs used to be my go-to source of high-quality protein that I could eat any time of day. Now - I can barely get myself to make them. Sweet potatoes didn't stir up in me the passion that they used to do. Neither did veggies or salad. Just the smell of my husband cooking a steak can make me gag.

For the first few weeks of my pregnancy, I could only manage to consume the following:
Lots and lots of watermelon with lots and lots of freshly squeezed lime juice
Sparkling/Seltzer Water with lots of lime wedges and cucumber slices

Green smoothies - at least I was getting some spinach and coconut milk in my system in addition to all of the fruit!
And random combos like organic strawberries and sunbutter
 Then on those days when I felt like I could eat a real meal, I craved BAD stuff. Since I was suffering from the morning sickness, my will power was low so I caved into some glutenous foods like:

At least I was able to eat some eggs!
The only redeeming ingredient in this meal were the crushed walnuts
Yes, that is real pasta and real Parmesan cheese. Face palm.
 While all of these tasted good at the time, especially after not eating things like bagels, waffles and pasta for such a long time, they only made me feel worse.

 Now that the morning sickness is subsiding a bit, I've been trying to get myself back on the paleo bandwagon. I've had a little bit more energy and I actually have the desire to cook again. I'm still not feeling eggs, steak, or sweet potatoes, but I have managed to eat the following healthy meals over the last week or so:
I've always liked my homemade salsa, but lately, I'm like in LOVE with it. With extra lime of course. Baby likes sour.
Random concoction #1: sweet plantains, chicken thighs, 1/2 avocado, drizzle of balsamic glaze
Random concoction #2: sweet plantains, brussels sprouts, chicken sausage, olive oil/maple syrup/balsamic dressing
Organic pork chop with roasted veggies
Roasted cauliflower and organic Italian chicken sausage. Btw, I had this for breakfast. Gotta think outside the box!
Spaghetti squash and baked garlic chicken wings
 I can honestly say that I feel better now that I've cleaned up my act a bit over the last week or so. Getting back in the groove is motivating me to continue on this path. I know it is healthier for our baby for me to eat the most nutritious foods possible, so I have to commit. The hubby and I are even going to attempt a pregnancy Whole30 for the month of May. Now that I'm past some of the first trimester craziness, I'm hoping I can continue preparing delicious and nutritious foods and be the paleo mom I so desperately want to be!

Wait - did I just call myself a mom? That's weird. Sometimes it doesn't feel real, but in about 5 months we will be parents. SO excited and SO scared all at the same time!

In terms of exercise, I again thought I would be a totally cool CrossFitMom by now, but that hasn't happened. Right now I'm celebrating the fact that they opened up the local park's nature trail and I took advantage of the beautiful weather this evening.

Baby steps, right?

Pun intended.

Guess What? We're Expecting!


We will welcome our first baby in October 2013!

Yes, you read that right. This is the main reason I've been pretty silent on the blog lately. On top of being super busy with work, I've been dealing with morning sickness, fatigue, afternoon sickness, fatigue, and evening sickness! Haha, but it will all be worth it and we are SOOOOO EXCITED!

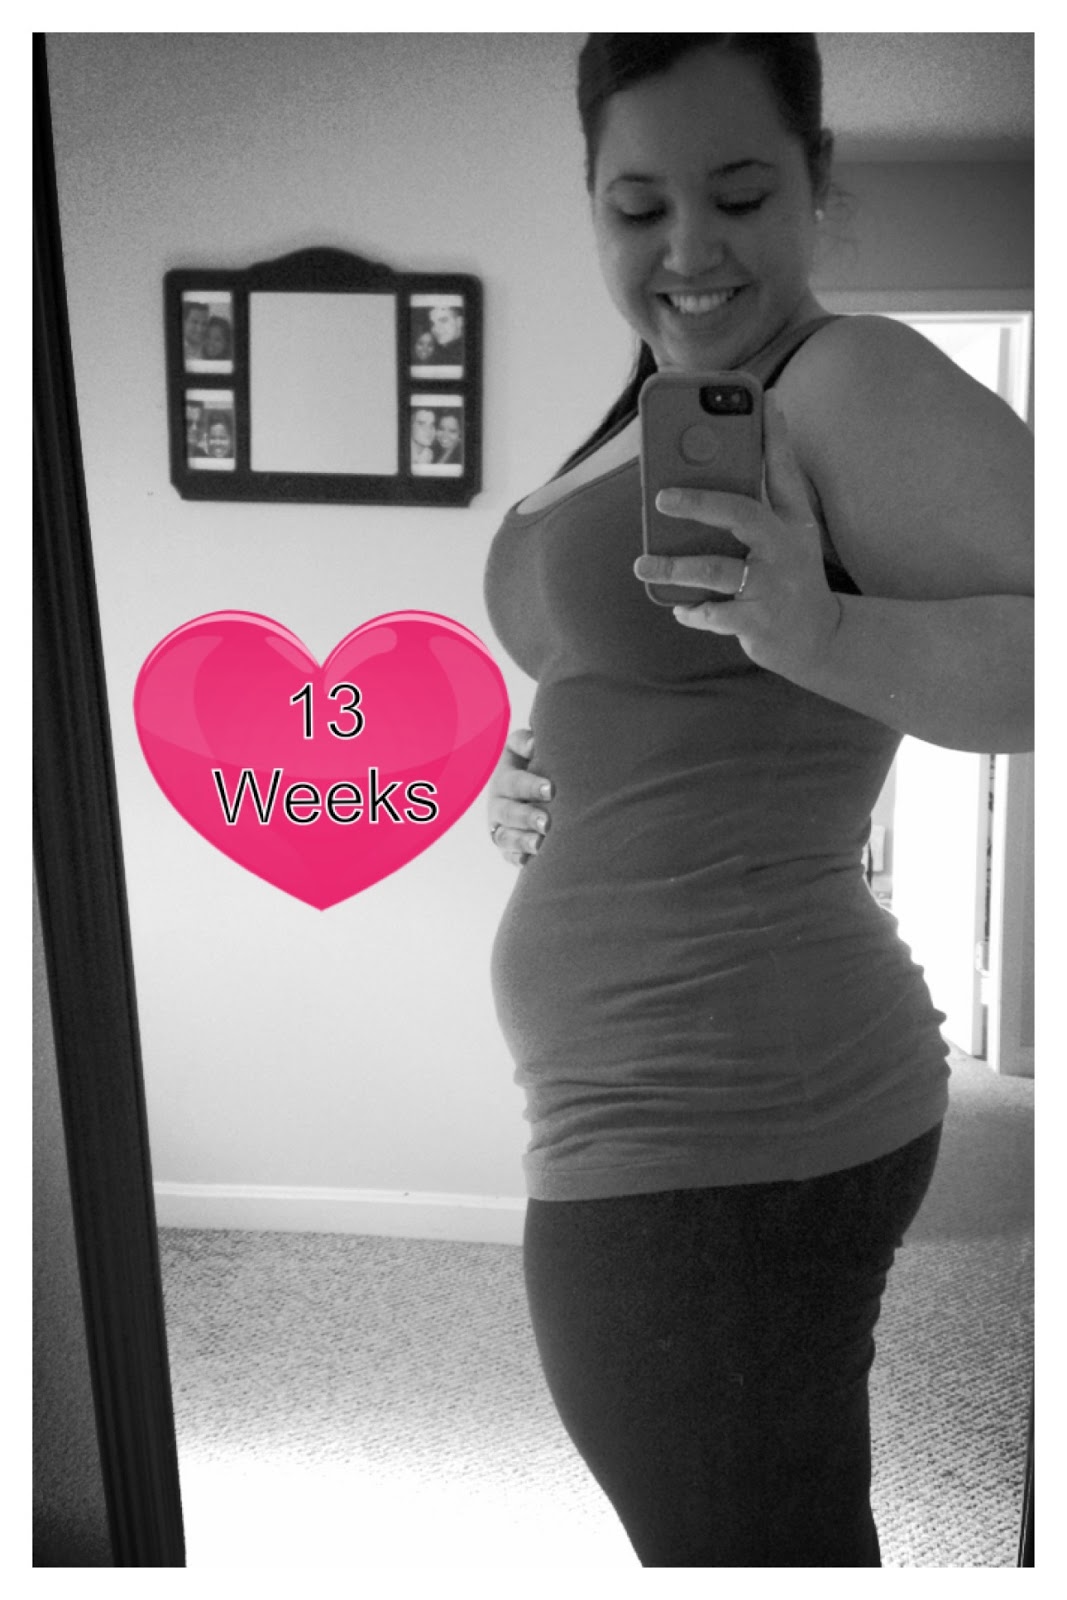
So here's a photo recap of our first trimester!
I literally took a test every morning for a week, just to be sure!
Our first appointment at 6 weeks!
Our tiny little nub at 6 weeks 6 days. Can't believe how tiny it is and how fast it turned into the following picture!
Just 5 weeks later and our little nub is fully formed and so active! It was amazing to see!!!

In the middle of our ultrasound I REALLY had to use the bathroom. After emptying my bladder, our little nub had more room and decided to stretch out it's arms and legs!
"Hi Mommy & Daddy!"
Thanks babe for saying the right thing!

 We are so in love already.

Boston Strong

In light of all of the recent events that occurred in Boston this week, I've been contemplating what to say in this post. I thought about sharing about how many Boston Marathons I cheered at while a student at Boston University, or how my mother-in-law has run the Boston Marathon for the last 10 years but thankfully didn't this year. How my family and I could have been there. But in all honesty, I felt selfish if I decided to dedicate a whole post about how we were spared. Instead, I'm dedicating this post to those that weren't so fortunate this week and our law enforcement avengers.

My prayers will continue to be with the families of the victims that were robbed of their future and the hundreds of families that will forever be changed.

Rest in Peace Krystle Campbell, Martin Richard, and Lingzi Lu
My prayers are also with the family of MIT Police Officer Sean Collier who gave his life in the line of duty:


And I'm praying for a quick recovery for MTA Officer Richard Donahue:


Lastly, I'm thanking God for every single state trooper, police officer, agent, military personnel that helped make Boston safe again. Their exceptional courage and heroism is greatly appreciated and admired. Because of them, Boston was able to rest easy last night and I was able to safely leave Boston this morning and hug my hero at home.

We are so grateful for the many brave men and women who put themselves in harm's way to protect their city. Their selfless service is best represented in the following picture where this officer went out of his way to bring some milk to a family with young children that had run out during the lock-down in Watertown, MA.


THANK YOU. 


Roasted Tomatoes and Butternut Squash Recipe


Last night, I mistakenly made my new favorite side dish. I really wanted to make this roasted butternut squash recipe but I was out of some key ingredients. So I decided to throw together what I had and it turned out to be quite delicious. 

Roasted Tomatoes & Butternut Squash Recipe

Recipe Ingredients:

- About 2-3 cups of butternut squash, cubed (I used just the neck of a medium sized butternut squash)
- 1 pint of grape tomatoes
- 1 medium onion, diced
- Extra virgin olive oil
- Dried rosemary
- Dried basil
- Salt & Pepper

Recipe Directions:

1.) Preheat oven to 400 degrees F.
2.) Prepare veggies and mix together in a large baking sheet
3.) Drizzle extra virgin olive oil until all veggies are coated
4.) Liberally season with dried rosemary, dried basil, salt and pepper
5.) Roast in the oven for 30-40 minutes
6.) Enjoy!

Just before hitting the hot oven!

This makes a pretty good sized batch of veggies, probably 4-6 side dish servings. We enjoyed for dinner last night and it was also perfect as part of my hubby's post-WOD recovery meal. Check out how pretty it looks along side his grass-fed rib-eye steak. Yum.

Yes, he's incredibly adorable. No, you can't have him ;)
Leave a comment when you try the recipe and let me know what you think!

XOXO,
SMP

Shame on me

Source
It's not you. It's me.

It saddens me that I haven't been blogging in almost 2 months! Life has just been really crazy lately and I haven't had the time. I've been given more responsibility at work so when I'm done doing my day job, I want nothing to do with a computer screen!

But I miss blogging. A lot.

So I'm taking the time today to just let you know that I have not abandoned you and that Consider the Leaf Turned will be back in business soon!

I've got lots of yummy recipes to share and it would just be selfish of me to keep them all to myself!

Until then, enjoy this video that I've turned to for comedy relief during my most stressful days.


XOXO,
SMP


Homemade Adobo and Sazon Seasonings


In Puerto Rican cooking, we tend to use Goya Adobo and Goya Sazon to season rice, stews, meats, everything. I've been trying to use less of it due to the MSG and other additives but I just can't make "my chicken" without it. Then I thought, there's gotta be a way to make it at home. Goya hasn't been around forever and I'm sure my great grandmothers cooked just fine without it. So I put on my thinking cap and made my own spice blends that taste exactly the same if not better! Yay! I can still enjoy the flavors of my heritage without the MSG!

Homemade Adobo Seasoning Recipe

 
Recipe Ingredients:
  • 2 TBSP salt (I use Kosher salt)
  • 1 TBSP ground black pepper
  • 1 TBSP garlic powder
  • 1 TBSP dried oregano
  • 1/2 TBSP turmeric 
Recipe Directions:

1. Mix all spices into an airtight container and give it a good shake. If you have a spice grinder, that would give you the same feel as Goya Adobo, but I kind of liked the coarse blend.

NOTE: I stored the spice mixture in a small glass mason jar with an airtight lid.

Homemade Sazon Seasoning Recipe

Recipe Ingredients:
  • 1 TBSP salt (I use Kosher salt)
  • 1 TBSP ground black pepper
  • 1 TBSP garlic powder
  • 1 TBSP dried oregano
  • 1 TBSP ground coriander
  • 1 TBSP ground cumin
  • 1 TBSP ground annato (or grind your own annato seeds)
Recipe Directions:
1. Mix all spices into an airtight container and give it a good shake. If you can only find annato seeds, instead of ground annato, you'll want to use a spice grinder.

NOTE: Again, I stored the spice mixture in a small glass mason jar with an airtight lid. If you're used to using the Goya Sazon packets, 1/2 TBSP of the spice blend is equivalent to 1 packet. Also, using this Sazon will give your food a more brownish red color instead of the bright orange you may be used to from the store bought kind. Considering annato seeds are a more brownish red color naturally, I bet the bright orange color comes from something fake. I rather not!


Please let me know your thoughts!

XOXO,
SMP

Fresh Mango Salsa Recipe


Fresh Mango Salsa Recipe
This mango salsa is so easy to put together and so yummy! It's sweet and spicy and I enjoyed mine tonight over some Puerto Rican style ground beef. I think it would also go great in a salad, over chicken or fish.  Enjoy!

Recipe Ingredients
  • 1 cup of diced mango chunks
  • 1/2 red, yellow, or orange bell pepper, diced (I used orange)
  • 1/2 small red onion, diced
  • 1 jalapeño, seeded, finely diced
  • 2 TBSP fresh mint, chopped

  • 2 TBSP orange juice (I used Simply Orange)

 Recipe Directions

1. Mix all ingredients into a medium sized bowl and consume!


Let me know what you think!

XOXO,
SMP