Search This Blog

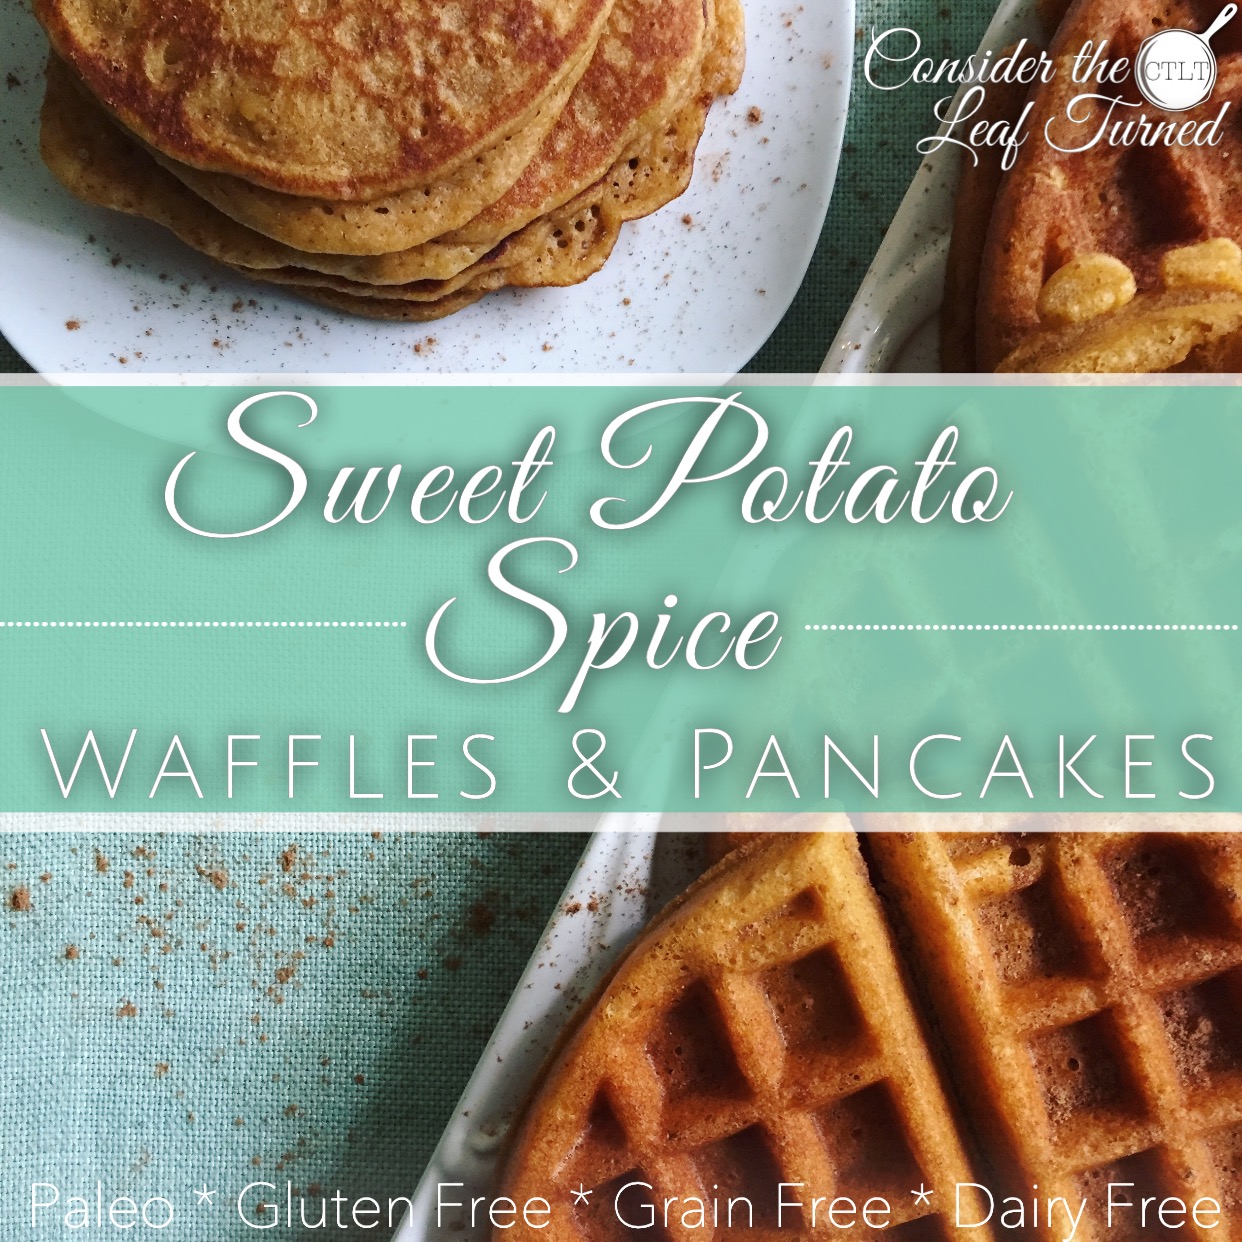
Sweet Potato Spice Waffles and Pancakes


Fall - a time for light sweaters, boots, leaves, apples, and everything pumpkin spiced. Am I right? I love this time of year because the fall has brought so many beautiful moments in to my life. 6 years ago, Mark proposed to me at an apple orchard in late September and almost 3 years ago, we welcomed our beautiful baby girl into the world in late October.

A couple of weeks ago, we took Isabelle for our now annual trip to the Roba's Family Farm where we got to ride a pony, feed goats, pick out pumpkins, and Isabelle got to try a cider donut for the first time. SHOCKING I KNOW. I let Isabelle eat a cider donut and it wasn't even gluten free!


Because we eat so well every day, I do not have any problem with the occasional treat. If my kid eats a cider donut once a year, I'm still calling that a success!

A few days passed and Isabelle and I had the following conversation:

Isabelle: I want to go back to the farm.
Mama: Oh yea? Do you want to ride the pony again?
Isabelle: No, I need donuts.

Oh Lord, I created a monster!

So these Sweet Potato Spice Waffles/Pancakes were born. I wanted to create something that tasted like a cider donut but was nutrient dense so I felt comfortable feeding it to Isabelle on a regular basis.

The kid loves the paleo waffle recipe from Every Last Crumb so I used that recipe as a base for this one. My first attempt was OK, but adding the sweet potato threw off the texture of the waffle. I kept playing around with flour ratios and the end result was delicious! It's crispy on the outside but soft on the inside, filled with the nutrients of a sweet potato, spiced with pumpkin pie spice, satiating from the healthy fats, and just sweet enough to get your daughter to forget about cider donuts from the farm and devour these "waffle donuts" as Isabelle called them instead.

You can also use this batter to make Sweet Potato Spice Pancakes! They were delicious with some coconut butter smeared over them.

Both the pancakes and waffles freeze really well, so I would absolutely double this recipe and save some for a busy morning or quick snack. I actually prefer the waffles after they've been toasted for about 2-3 minutes in the toaster. Also, feel free to try pumpkin instead of the sweet potato! The batter might be a little wetter (haven't tested it myself), but should still work.

SWEET POTATO SPICE WAFFLES AND PANCAKES RECIPE

Recipe Ingredients

Dry Ingredients:
1 cup almond flour
3/4 cup tapioca flour
2 tsp baking powder
1/4 tsp salt
2 tbsp coconut sugar
1 tsp pumpkin pie spice

Wet Ingredients:
1/2 cup sweet potato puree 
1 egg
1/2 cup coconut milk, light 
1/4 cup avocado oil (plus more for oiling your waffle iron or skillet)
1 tsp apple cider vinegar
1 tsp vanilla

Recipe Directions

1. Plug in your waffle iron to warm up or warm up a skillet over medium low heat for making pancakes.
2. In a medium/large mixing bowl, whisk together the dry ingredients until well combined.
3. Make a well in your dry ingredients and add the wet ingredients to your bowl. Mix everything together until a batter is formed.
4. Let batter sit for 5 minutes. You should notice a few bubbles form in the batter during this time.
5. COOKING THE WAFFLES: Lightly brush on some avocado oil to your warm waffle iron. Add a scoop of batter to your waffle iron, leaving about an inch from the edges all around. Close the top and cook according to your waffle iron's instructions. My waffle iron takes about 5 minutes per waffle.
6. COOKING THE PANCAKES: Lightly brush on some avocado oil to your warm skillet. Add about 1/4 cup of batter and cook like a traditional pancake, waiting for a few bubbles to surface before flipping. Cook for one more minute after flipping.
7. Serve with maple syrup and a dusting of pumpkin pie spice. Enjoy!

Try these and let me know what you think!

XOXO,
SMP

*Some product links throughout this blog are affiliate links. If through these links, you end up purchasing an item I recommend, I may receive a small commission. Please know that I would never personally recommend any product or service that I do not currently use or would consider using on my own family. I simply want you to know exactly what I use, so you can have the same results when making my recipes. Thank you for your support!*

Nourished Beginnings Baby Food - Nutrient Dense Recipes for Infants, Toddlers, and Beyond - Book Review


I thank God that we embraced the Whole30/Paleo lifestyle a year or so before I got pregnant with Isabelle, because it became the foundation for how we decided to feed our daughter. After we knew what our bodies were meant to thrive on, I was convinced that nutrient dense, nourishing foods were the only things I wanted Isabelle to eat. I got a lot of negative feedback from family and friends for turning down things like rice cereal and those puffs that every kid seemed to love, but no one could take away my conviction that I wanted every bite that Isabelle ate to count. I wanted every single bit of food to be setting herself up for a healthy relationship with food - food that would nourish her growing brain and support her digestive and immune system. So I kept on walking down my own path with a couple of avocados in my purse at all times.

I started looking for like minded people through blogs and social media accounts and one day came across Renee Kohley's Instagram account from Raising Generation Nourished. I immediately gravitated to her posts and her blog, seeing that she was successfully raising her three daughters on a real-food based diet.

"See Mom - I'm not the only one!" is what I wanted to shout. Over the years, I've learned many tips and tricks from Renee and she was the one to introduce me to the concept of using soups as a cost-effective but nutrient dense way to nourish my family.

It seems simple, but soups are such a great way to get kids (and picky adult eaters!) to get accustomed to different tastes and sneak in an array of different fruits and vegetables in their diets, not to mention the many benefits of consuming homemade bone broth on the regular.

So when Renee started to hint that she was writing a book, I got excited. Really excited! If just seeing her IG and reading her blog posts were helping me take my family's nutrition to the next level, a book would just be the icing on the cake (gluten free, of course!).

And let me tell you, this book does not disappoint. Nourished Beginnings Baby Food is so much more than baby food - it inspires you to nourish your entire family.

Not only does it include simple how-to's for nourishing staples like homemade bone broth and coconut butter, but it shows you how to cook once for the entire family but adapt that meal to fit your growing baby. No need to buy separate baby food or make something completely different for your child - from the time they start eating real food, give them exactly that! REAL FOOD.

Even if your children are a little older now, over half of the book focuses on family meals that anyone will enjoy. Plus - my daughter still loves purees and they are a delicious side dish to a roast chicken or served under some ground beef. I mean - don't we all still like mashed potatoes as adults? No reason we shouldn't be mashing up other nutrient dense foods like squash or beets!

In addition to all of the vegetable purees, nutrient dense soups, and well-rounded family dinners, I really love the section on drinks in Nourished Beginnings. Friends - we need to be thinking beyond those juice boxes. Again, every bite or sip that our kids take can and should be nourishing. 
Renee even includes multiple tea recipes that are safe to use for kiddos 6 months + that can help calm an upset tummy or a colicky baby and even aid a fever. SO helpful, especially when there's not much out there that is safe to use with little ones. I love having these alternatives in my pocket now. 

So all of that to say, you need this book. Nourished Beginnings Baby Food 
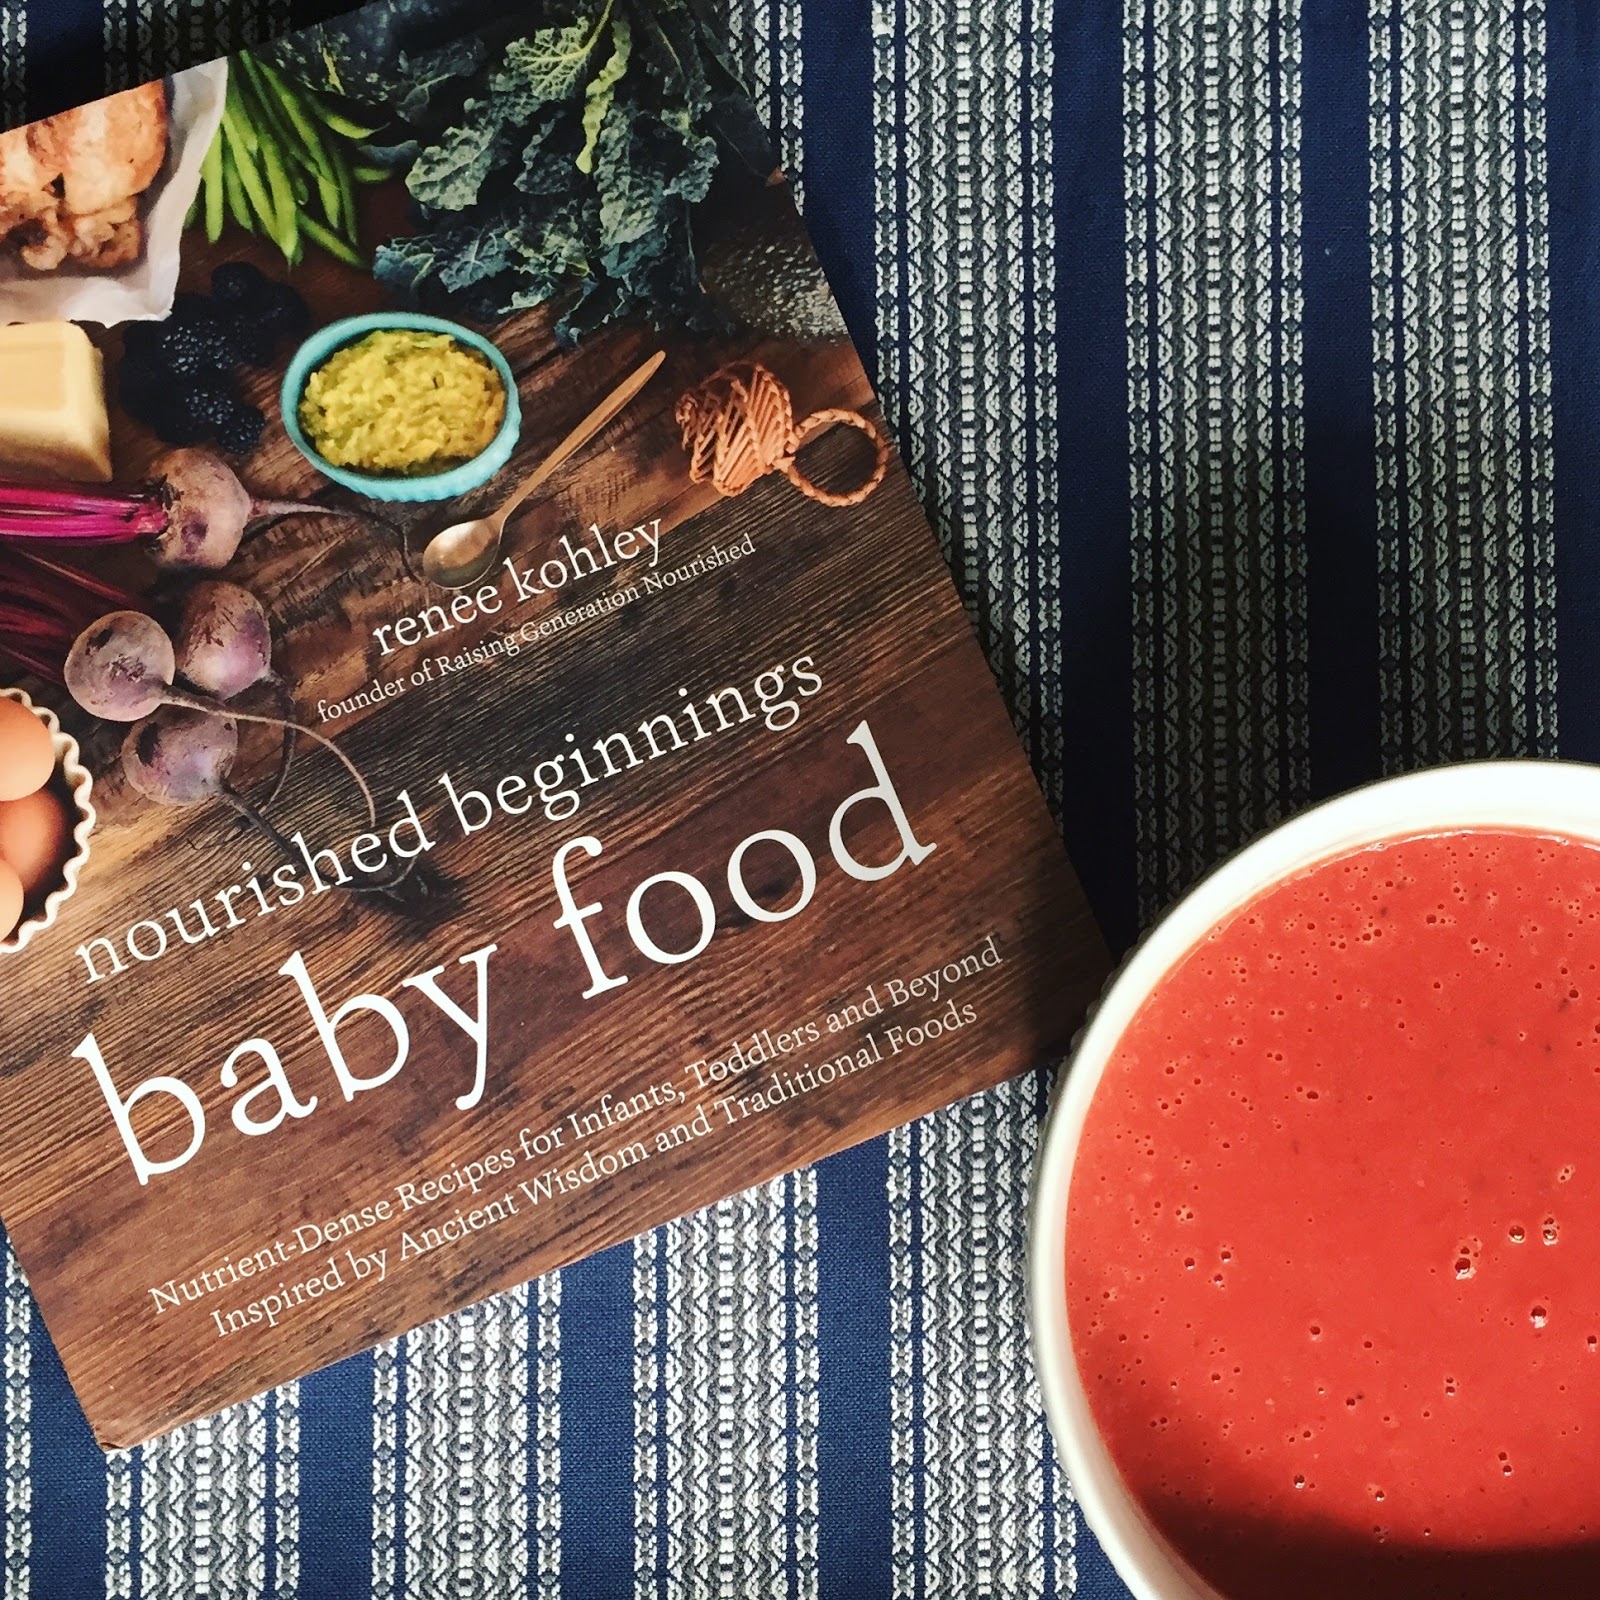
officially released last week and you don't want to miss out. I have seen with my own eyes how a real, nutrient-dense diet is so critical for overall health and wellness - for adults and children alike. While I still have control over what my daughter eats and doesn't eat, I want to be sure I am providing her the absolute best and now I have another tool in my wheelhouse to help nourish our next generation.

Thanks Renee for pouring your heart into this book!

XOXO,
SMP

*Some product links throughout this blog are affiliate links. If through these links, you end up purchasing an item I recommend, I may receive a small commission. Please know that I would never personally recommend any product or service that I do not currently use or would consider using on my own family. I simply want you to know exactly what I use, so you can have the same results when making my recipes. Thank you for your support!*

Sweet Potato, Carrot, and Apple Soup

Soup. We love soup around here. It's such an easy way to boost up the nutrition in your daily diet and sneak in lots of wholesome veggies and nourishing bone broth into the little ones.

I've been making some variation of this Sweet Potato, Carrot, and Apple soup for probably almost two years now. I never wrote it down or followed a recipe, but a general method - chop up and cook the veggies you have on hand, add some broth, and puree until smooth. It really is that easy.

The sweet potato, carrot, and apple all have a nice sweetness to them so this soup is SO kid-friendly. My daughter Isabelle has always happily eaten this soup and asked for more. Also, you can use butternut squash or pumpkin instead of (or in addition to) the sweet potato, leave out the carrots, or add in more apple - whatever works for you! Truly, this recipe is super forgiving, but the combo of flavors is delicious, especially with sauteed onion and garlic thrown into the mix.

On multiple occasions, I have added in some cooked chicken or homemade sausage to make this a complete meal. The sausage and soup combo is actually one of my faves!

The last thing I'd like to point out is the seasoning. I truly enjoy this soup with just a generous seasoning of sea salt. My bone broths usually come out pretty flavorful and combined with the sweetness of the veggies and fruits, the soup has enough flavor for our palates. But if you'd like to get crazy with the herbs and spices, I would recommend cinnamon, turmeric, ginger, cloves, and Herbes de Provence as good options to choose from!

Okay - LAST last thing. For an even deeper level of flavor (and if you have the time), roast the veggies first, instead of cooking down in the soup pot. 30 minutes at 400 degrees should do it and then you can skip step 2 below.

SWEET POTATO, CARROT, and APPLE SOUP RECIPE
Recipe Ingredients
1 extra large sweet potato, peeled and diced (or two medium - you want about 1.5 pounds)
3 medium carrots, peeled and diced
2 apples, diced
1/2 onion, diced
4 garlic cloves, minced
1-2 tbsp ghee or grassfed butter 
5 cups bone broth (preferably homemade. Add less for a thicker soup)
sea salt, to taste

Recipe Directions
1. Heat a large pot over medium heat and sauté onion in the ghee/butter for 2-3 minutes with a nice pinch of sea salt.
2. Add sweet potatoes, carrots, and apples into the pot, tossing to combine and adding another generous pinch of salt. Cook down for about 8-10 minutes, stirring occasionally.
3. Add in the garlic and cook until fragrant - about 30 seconds to 1 minute.
4. Add in the broth and scrape up any delicious brown bits from the bottom of the pan.
5. Lower heat to medium low, cover, and let simmer for about 10 additional minutes, or until all of the veggies are soft.
6. Once the veggies are cooked through, remove the pot from the heat and using an immersion blender, puree the soup. You can also carefully transfer to a regular blender, working in batches as needed.
7. Do a taste test once pureed and add more salt or additional seasonings as desired.
8. Serve and enjoy!

XOXO,
SMP

*Some product links throughout this blog are affiliate links. If through these links, you end up purchasing an item I recommend, I may receive a small commission. Please know that I would never personally recommend any product or service that I do not currently use or would consider using on my own family. I simply want you to know exactly what I use, so you can have the same results when making my recipes. Thank you for your support!*

Strawberry Coconut Milk Yogurt & Kefir-Like Drink!

I recently purchased the coveted Instant Pot and while I was super excited to see how quickly I could make a ton of food in the 7 function in 1 kitchen appliance, I was most excited about using the yogurt function! Since learning of the paleo lifestyle and completing my first Whole30 4 years ago, we have cutout dairy from our lifestyle almost completely. For me, it causes some tummy troubles and gives me acne. (NO FUN!) We kept Isabelle dairy free from the start, but have tested her dairy tolerances a few times since she's turned 2. We tried high-quality, organic, raw cheeses, yogurts, and kefirs, and while we LOVED them, every time she would develop an eczema-like rash on her thighs and a spot or two on her face. Booo.

So I was determined to make a dairy free version that tasted just as good as the rest. Now, the "instant" part of Instant Pot does not apply to the yogurt function, but it does keep the coconut milk and probiotic concoction at the perfect temperature while it cultures for about 12 hours. I have found that it has been best to make it overnight.
Couple of notes about the yogurt recipe:

1. Since we are working with coconut milk, we do not have to do the pasteurization step that you would normally need to do with cow's milk when making yogurt. We just need to add our coconut milk and probiotics into a clean container and let it get to work.

2. While I loved how easy this was in the Instant Pot, you don't need one to make yogurt. You can also let it culture in an oven with the oven light on, but no additional heat.

3. I used two collagen products in this recipe - gelatin 
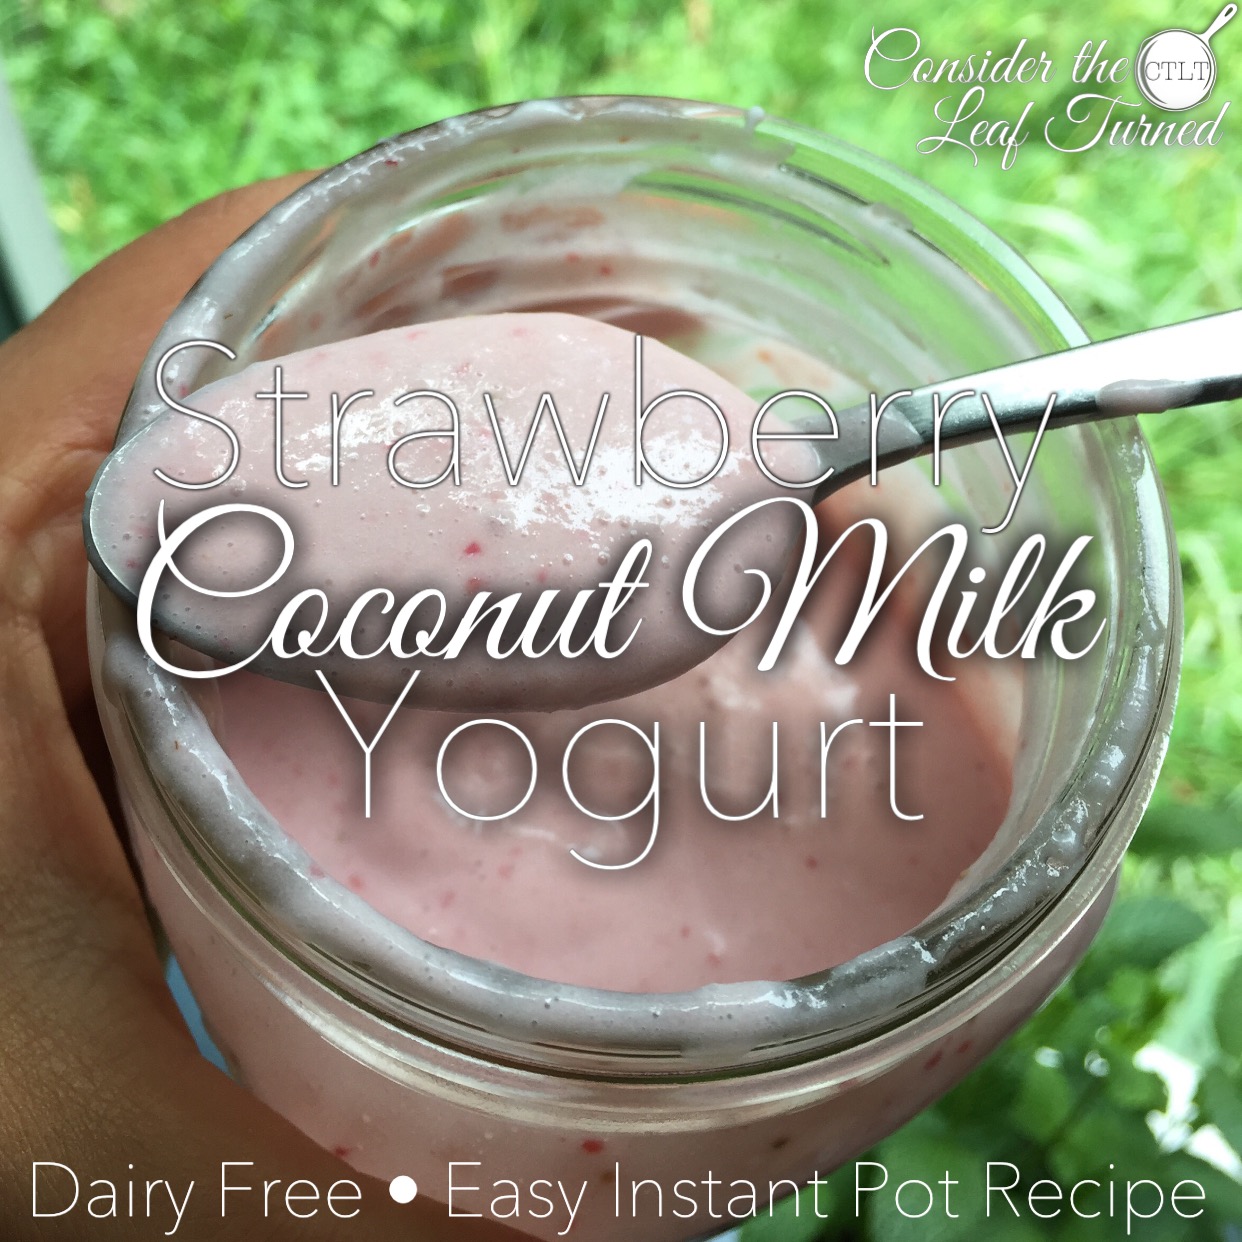
to thicken the yogurt and collagen peptides to add plenty of easily digestible protein.  Plus collagen is AMAZING for your health and we just don't get enough of it in our modern diet. Collagen supports bone and joint health, immune and digestive systems, and improves skin, hair, and nails making them healthier and stronger. Umm, hello?! Get yourself some collagen. You're welcome. :)

4. This recipe makes about 4.5 cups of yogurt packing in about 7grams of protein per 1/2 cup serving, along with a nice punch of carbs and fat to keep little bellies full all morning as a complete meal.  Or it makes a delicious side for an adult sized meal.

5. The amount of probiotic capsules you will need is based on how many active bacteria each of your capsules contain. You are looking for about 50-60 million active bacteria per batch. Since the ones I use have 20 billion each, I used 3 capsules.

After having success with the yogurt, I thought that this recipe would also make a nice kefir-like drink if I just left out the gelatin. And I was right! So whether or not you like to eat your probiotics with a spoon or sip through a straw, this recipe can be adapted to fit either preference. Either variation also works really well in a smoothie or as a frozen Popsicle for an after-dinner treat.

Though I haven't tried it yet, for longer storage, I would guess you could also freeze the yogurt in ice-cube trays to have ready for smoothies in the future! I also plan to make some frozen yogurt in the future in my ice-cream maker...oh the possibilities are endless.
So without any further ado, here is the recipe. If you want a drinkable yogurty drink, just leave out the scoop of gelatin! 
STRAWBERRY COCONUT MILK YOGURT (OR KEFIR-LIKE DRINK)
Recipe Ingredients
2 cans coconut milk, full fat 
2-3 probiotic capsules (about 50-60 billion active cultures)
1 scoop gelatin, preferably pasture-raised beef gelatin ***LEAVE OUT FOR THE KEFIR-LIKE DRINK***
2 cups fresh strawberries, sliced 
1 tbsp raw honey (leave out if on Whole30, strawberries may be sweet enough!) 
1 tsp vanilla extract
Recipe Directions (using an Instant Pot)
1. Making sure your Instant Pot stainless steel insert is freshly cleaned, add in the coconut milk, probiotics, gelatin (if using), and the collagen. Whisk or use an immersion blender to combine everything really well - you don't want any gelatin or collagen clumps! 
2. Close the Instant Pot, make sure your vent is closed, press the Yogurt button and increase the time from the 8 hour default to 12 hours. It will automatically begin and the timer will start counting up (instead of the usual countdown). 
3. Go to sleep or go about your day, letting the coconut milk culture for 12 hours. 
4. Once the 12 hours are up, the Instant Pot will read "Yogt." Open up the Instant Pot, give it a mix, and do a little taste test. If the yogurt is as tangy as you like it, proceed with the next step. If not, turn the Instant Pot back on and let culture for another 2-4 hours. 12 hours has been perfect for us. NOTE: Even with the gelatin, the yogurt will still be runny at this point but it will firm up once it's cooled. 
5. Add the sliced strawberries, raw honey, and vanilla extract directly into the Instant Pot and get out that immersion blender again. Blend until smooth. 
6. Transfer the yogurt into glass jars or bottles and refrigerate for 2-4 hours to allow the yogurt to firm up and cool down. 
7. Once ready to eat, top your yogurt with more fruit, nuts, or grain-free granola, sip on your yogurt drink, or add into your favorite smoothie recipe. 

XOXO,
SMP
*Some product links throughout this blog are affiliate links. If through these links, you end up purchasing an item I recommend, I may receive a small commission. Please know that I would never personally recommend any product or service that I do not currently use or would consider using on my own family. I simply want you to know exactly what I use, so you can have the same results when making my recipes. Thank you for your support!*

Gluten Free Baked Chicken Nuggets


Now that Isabelle is in preschool full-time, I have to be more and more creative with packing her snacks and lunch. A few weeks ago, I found some organic ground chicken and thought I would give making chicken nuggets a try! I wanted to make these gluten free, but simple enough to make on a regular basis, if they were a hit with the Little Lady.


Which, they clearly were.

This recipe can easily be scaled down or up depending on your chicken nugget needs. I like making this amount because we can eat once and also store some in the fridge or freezer for later consumption.

Now, let's talk texture. Since these chicken nuggets are baked and not fried, the coating is not super crunchy like fried chicken nuggets from a drive-thru. They are soft, flavorful, a little flaky, and a big hit with both my almost 3 year old and my 32 year old husband.


Try these out and let me know what you think!

GLUTEN FREE BAKED CHICKEN NUGGETS RECIPE

Recipe Ingredients
2 lbs ground chicken
2 tsp Adobo seasoning (Click here for my easy homemade blend)

Coating:
1 1/4 cup almond flour
1 1/4 tsp Adobo seasoning
1/4 cup tapioca flour
2 eggs
1 tbsp water
Olive Oil Cooking Spray (or use a Misto, if you have one)

Recipe Directions
1. Preheat oven to 400 degrees F and lightly oil a baking sheet.
2. In a large bowl, combine the 2 lbs of ground chicken with 2 tsp of Adobo seasoning.
3. Spray some oil on your hands to prevent sticking and start forming the nuggets by rolling the ground chicken into small golf ball sized balls and then flattening to about 1/4 inch thick and placing on a separate plate. Form all chicken nuggets (or at least half the batch) before proceeding to the next steps.
4. Line up 3 small bowls: one bowl with just the tapioca flour, one bowl with the 2 eggs mixed with the tbsp of water, and one bowl with the almond flour and Adobo seasoning combined.
5. Take each chicken nugget and coat first with tapioca flour, then drop into the egg wash, then coat with the seasoned almond flour, and lastly place on the oiled baking sheet.
6. Once all chicken nuggets are prepared, spray the tops of each nugget with the olive oil spray.
7. Bake for a total of 10 minutes, making sure to flip the nuggets at the halfway point.

Enjoy!

XOXO,
SMP

Homemade Italian Sausage with Peppers, Onions, and Spinach

I am always looking for new ways to make a quick meal that is both nutritious and delicious. This Italian Sausage recipe with peppers, onions, and spinach is not only both, but also super easy to pull together any day of the week. 
We almost always have the ingredients in stock in our fridge and it always delivers.  The spice blend is easy and you probably have everything in your pantry right now. 
This dish is full of flavor and delicious on its own or over some cauliflower rice, white rice, or gluten-free pasta tossed in butter. Super kid-friendly, too!
We also like to add a dollop of homemade ranch dressing (I use this recipe), for a richness that really satisfies. If you like your Italian sausage hot, feel free to add a few shakes of crushed red pepper before serving.
Homemade Italian Sausage with Peppers, Onions, and Spinach Recipe
Recipe Ingredients:
1 lb of ground pork (organic and/or pasture-raised)
2 bell peppers, thinly sliced
1 red onion, thinly sliced
1 tbsp avocado oil (or cooking fat of choice)
1/4 cup broth (ideally homemade bone broth)
2 garlic cloves, minced
1 tsp salt + a pinch
1 tsp pepper
1 tsp oregano, dried
1 tsp basil, dried
1 tsp parsley, dried
1/2 tsp fennel seeds
1/4 tsp ground nutmeg
large handful chopped spinach (1-2 cups, loosely packed)
Recipe Directions:
1. Over medium-high heat, heat 1 tbsp of avocado oil in a large skillet or pot.
2. Saute peppers and onions with a pinch of salt for about 5-7 minutes.
3. Add broth to deglaze the pan, scraping up any brown bits, and lower heat to medium.
4. Move peppers and onions to the perimeter, making space in the middle to add the ground pork. Break up pork with a wooden spoon and add the garlic and all of the spices. Stir to combine and cover.
5. Cook for about 10-15 minutes, stirring and re-covering occasionally, until pork is no longer pink.
6. Lower heat to medium-low and add chopped spinach. Stir to combine and cook for an additional 1-2 minutes.
7. Serve and enjoy!
XOXO,
SMP

Prayer: For Those Struggling With Body Image


Earlier this week, I was rereading my "Give Me Jesus" journal and was touched by my own words that I had written to God in the previous week. It was like I was reading someone else's words as I could barely remember writing this prayer myself. Maybe it's because my quiet time with the Lord is very early in the morning, sometimes before my first cup of coffee, or maybe it's because I have a serious case of Mommy Brain, or maybe God just wanted to stir my heart again.

I usually keep my own struggles between me and the Lord, but all week God has been telling me that I needed to share this prayer with others. 

Maybe you're feeling the same way I am currently feeling, or just need a little encouragement to surrender it all to God, but here's the prayer that I wrote to God last week. I hope it touches your heart in the same way it keeps touching mine, every time I read it. 

Heavenly Father,
Today I am struggling with my body. I don't quite understand why my body has gained so much weight and doesn't want to let it go. I eat healthfully, trying to honor my body, my temple, that You have given me.

Lord, Your word says that my joy, my happiness, comes from You - not my dress size. As I refocus my energy on You, please take care of the rest?

I want to focus my energy, my mind, on things that matter to You God. Give me Your eyes so I can see as You see, Lord.

And allow my heart to be filled with love, peace, and forgiveness, not just towards others but towards myself too.

In Jesus Name, Amen.

XOXO,
SMP

Light & Crispy Yuca Fries Recipe


You want to make these yuca fries. Like now. Fresh yuca (not to be confused with yucca) can be a bit intimidating at first, but this life is all about conquering fears and stepping into the unknown. So, let's get started.

You can find fresh yuca in the produce section of your local supermarket, probably near other vegetables popular in Latino cuisine, like plantains and batatas. They have a dark, waxy skin and should be pretty inexpensive per pound. Be sure to pick yucas that are firm (no squishy parts) and are uniform in shape to help the peeling process.

Once home, unless you have a really good vegetable peeler, it is a little hard to get through that tough, wazy skin. What I have been doing lately is scoring the yuca, diagonally across and all around, and then from the top, peeling the thick layer of skin off. If you follow me on Instagram, I posted a short video on how it works.

https://www.instagram.com/p/BB0CJVJRZeR/?taken-by=considertheleafturned


It's not a perfect process, but once you get it going, it saves a lot of time and effort and you're left with a pretty piece of yuca. You can also buy already peeled yuca in the frozen section (with the other Goya products), but you're going to pay a premium.

Once you have that baby peeled, cut into large chunks, and you're ready to start this recipe for the most delicious, crispy, and perfect yuca fries in all the land.


LIGHT & CRISPY YUCA FRIES RECIPE

Recipe Ingredients

1 large yuca, peeled and chopped into large chunks
water for boiling
sea salt
2 bay leaves
oil, for frying (avocado oil is our preference)
Homemade Adobo for seasoning

Recipe Directions

1. Peel the yuca as described above and cut into large chunks.
2. Put the yuca in a large pot, cover with cold water, add a few pinches of salt and 2 bay leaves, and bring to a boil. Boil for about 30 minutes.
3. Carefully, remove the yuca from the pot and let cool.
4. Again, carefully cut the boiled yuca into fry shapes. Wedge shape works pretty well.
5. Heat a heavy bottomed skillet (like a cast iron) over medium heat, and add a thin layer of avocado oil (or cooking fat of choice).
6. Once the oil is glistening, using tongs, carefully place the yuca fries into the hot oil, working in batches and not overcrowding the pan.
7. Pan fry the yuca until golden brown on both sides, about 2-3 minutes a side.
8. Transfer to a paper towel lined plate and season with a few pinches of Adobo.
9. Enjoy!  

Note: If you feel as though this is too labor intensive to do all in one sitting, feel free to complete steps 1-3 during a meal prep session and store in a glass container in the fridge. Once you're ready to make the fries, pull out of the fridge and continue with steps 4-9!

XOXO,
SMP

Asian Inspired Sautéed Kale and Red Cabbage Recipe


I love sautéed greens and cabbage, which I would have never known until I started eating more vegetables and greens when we started living this Whole30/Paleo lifestyle. 

If you follow me on Instagram or Facebook, you've seen a ton of variations of my sautéed cabbage and greens. I usually always add fresh garlic and some acid in the form of balsamic vinegar or fresh lemon juice (or both!) and something salty like prosciutto. 

This morning, I wanted something a little different so I ventured into making this dish with some Asian inspired flavors. The coconut aminos is a great paleo substitute for soy sauce and it takes the place of the vinegar and something salty that I usually like to add. The combination of the coconut aminos and the orange juice, garlic, and ginger really work so well together and transform this dish into something new and exciting. Topping with the sesame seeds and chopped cashews is a nice way to add some crunch and a little fat for satiety. 

I paired my sautéed veggies with a couple eggs and it was a perfect, complete meal! 

ASIAN INSPIRED SAUTÉED KALE & RED CABBAGE RECIPE

Recipe Ingredients:

1 bunch of kale, cleaned, and roughly chopped
1 cup of red cabbage, roughly chopped
1/2 red onion, small dice
2 tbsp avocado oil
Pinch or two of sea salt
1 garlic clove
1 tbsp orange juice
1 tbsp coconut aminos 
1/4 tsp pepper
1/4 tsp ginger (fresh or ground)
Small handful of chopped cashews, for topping
Sesame seeds, for topping

Recipe Directions:

1. Wash and prep your kale, red cabbage, and onion, removing stems from kale and roughly chopping everything into bite sized pieces. Make sure to dice the onion pretty small so it cooks quickly. 
2. Heat a cast iron skillet over medium heat and add about 2 tbsp avocado oil to the pan.
3. Add the red cabbage and onion, a pinch or two of sea salt,  and sauté for about 5 minutes. 
4. Add kale, garlic, orange juice, and coconut aminos and stir to combine. 
5. Continue to sauté until veggies are cooked to your liking, usually around 5-10 more minutes. I like my kale and cabbage to still have a bit of a bite to them and not too soft.
6. Season with pepper and ginger. Do a taste test and determine if a pinch of salt is in order or not. The coconut aminos should be enough, but you won't know until you taste! 
7. Top with sesame seeds and chopped cashews and enjoy! This could be enough for two servings or one serving for a hungry mama, like me!

Let me know what you think!

XOXO,
SMP